 |
| first stage front-back | |
Beginning modeling of a watch. Stauer "Noire" model. I enjoy the design and hope to capture the details as accurately as possible.
This is a practice in high polygon hard surfaces, using quads, avoiding triangles during the process. This will be textured and rendered. I plan to adapt a low poly version to be available for realtime graphics display.
In the first session, the main case body was blocked out in medium detail and contains a subdivision surface modifier. Material zones are assigned for chrome and brushed areas.
 |
| subdivision view |
 |
| edges |
|
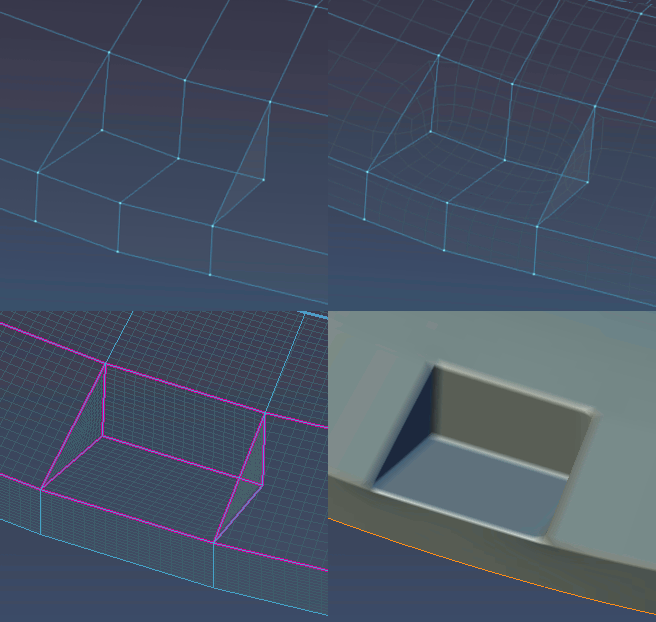
In the fine details of the back plate some triangles are hiding around, as long as they contribute to a clean surface, i'm not too concerned. This area received very heavy edge duplication to help smooth the bevels. It seems to give a clean result; nice highlights on the bevels with no real distortion. These areas will never really be seen, it is just for study.
 |
| surface result |
 |
| Alternative: creased edges |
 |
| matcap rendering with crown and pins completed |
|
 |
| square holes become round |
 |
| strap and latch |
Modeling the band was done in mirror and went quickly. The tiny holes were fairly tedious but came out smooth. A useful tool for sniffing out any hiding n-gons, has been
MeshLint. Also helps in finding other wonky geometry. simple and effective. At this stage some tweaks before texturing.
A few UV paintings to represent the band and face.
 |
| textures - bump map - strap color |
The band was produced mostly by bump mapping. Images painted with
Gimp 2.8
consisting of stitches and a paint crackle overlay.
 |
| bump map applied to material |
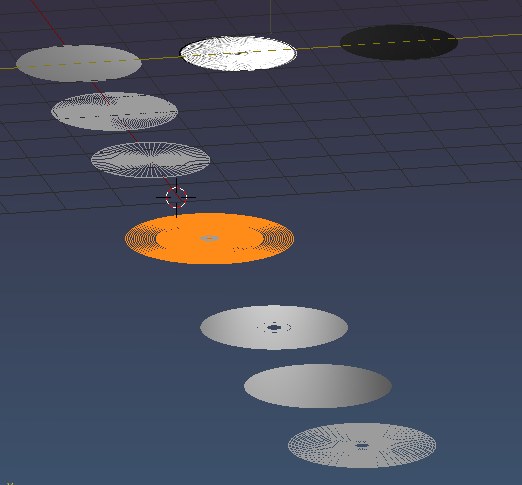
Thinking about how to make the intricate engraving for the watch face. Blender mesh designs to be converted into vector SVG and imported to
Inkscape. This script was discovered on a post at
blender artists, and worked very well.
 |
| face engraving test patterns |
 |
| engraving pattern in blender |
A radiating mesh with a few subdivision, twisted proportionally from center. The vector image was imported nicely in Inkscape. More editing in Gimp, for duplicating and eroding the layers, a kind of expanding depth was able to build up. finishing details in vector: concentric circles around edges, sub-dials with crosshatching, date window, and small raised area for label.
 |
| face engraving pattern for bump map |
 |
| bump map test application |
|
 |
| full face bumpmap |
 |
| face texture detailed in Inkscape |
Next is rigging the band so it can be curved around and posed.
 |
| rigged bands using empties+IK+hooks |
Adjusting materials, camera, and test rendering.
 |
| nodes - dial face bump map |
 |
| nodes - environment applied |
|
 |
| mask application - chrome/brushed |
 |
| nodes - anisotropic/chrome mask |
 |
| textures work in progress |
|
 |
| rendering scene - work in progress |
 |
| rendering - all detailed |
A few spots need to be perfected. probably add the numbering to the bump-map for a bit of embossing. band uv and texture adjustment. indicator spots on hands. probably incorporate in cool "noire" context; currently a lame concrete bitmap substitutes while details are tweaked. not to forget to adapt a low-poly version.


